
The Homelab Bench is reader-supported. As an Amazon Associate we earn from qualifying purchases; this article contains affiliate links.
If your Raspberry Pi has been quietly running Home Assistant, Pi-hole, or a handful of other services for the last year or two, you’ve probably hit at least one of the classic Pi walls: the SD card that keeps corrupting, the 4GB of RAM that’s suddenly not enough, or the moment you wanted to try something new and realized there was nowhere left to put it.
That’s usually the point people move to Proxmox. It’s not a bigger Pi — it’s a different way of running your homelab. Instead of one device doing one job, you get one machine that can run many isolated virtual machines (VMs) and lightweight containers (LXCs) side by side, each with its own resources, each disposable and snapshot-able without touching anything else.
This guide walks through going from “single Pi” to a working Proxmox host, with a nod throughout to the things that trip up people making this exact jump.
Why Proxmox specifically
A few reasons it’s the default choice for this upgrade path:
- It’s free and open source, with an active community and (optional) paid support if you ever want it.
- It runs on normal x86 hardware, so you’re no longer limited to ARM-compatible software — the single biggest headache with Pi-based setups.
- Snapshots and backups are built in. Before you update anything, you can snapshot the VM or container and roll back in seconds if it breaks.
- You can mix VMs and LXC containers. Full VMs for things that need isolation (like a separate OS), lightweight LXCs for services that don’t (like Pi-hole), all managed from one web dashboard.
What you’ll need
You don’t need enterprise server gear. A small, low-power mini PC handles Proxmox comfortably for most home setups — that’s the whole point of the homelab-bench approach: quiet, low-wattage, and small enough to sit on a shelf.
The host itself A mini PC with at least 4 cores and 16GB of RAM is a comfortable starting point if you’re planning to run Home Assistant, Pi-hole, and a couple of other services as separate VMs/LXCs. This is one of the most common starting points for people making this exact jump: Check price on Amazon
Storage Proxmox itself wants a fast boot/OS drive, and you’ll want a second drive for VM storage if you can manage it — keeps the OS and your data cleanly separated: Check price on Amazon
RAM upgrade (if the mini PC doesn’t come maxed out) Every VM and container reserves its own chunk of RAM, so this is the easiest bottleneck to hit early. More RAM up front means fewer headaches later: Check price on Amazon
A UPS (optional but recommended) Once your smart home devices, DNS, and other “always on” services live on one box instead of a Pi in a drawer, an unexpected power cut hurts more. A small UPS with USB monitoring lets Proxmox shut down cleanly instead of crashing: Check price on Amazon
A USB flash drive For the Proxmox installer itself — 8GB is plenty: Check price on Amazon
Step 1: Create the installer
- Download the latest Proxmox VE ISO from the official Proxmox site.
- Flash it to your USB drive using Rufus (Windows) or balenaEtcher (Mac/Linux).
- Plug the drive into your mini PC and boot from it (usually F7, F11, or Del at startup to pick the boot device — check your specific model).
Step 2: Install Proxmox VE
The installer is graphical and fairly self-explanatory, but a few choices matter more than they look:
- Target disk — pick your NVMe/SSD. If you have two drives, this is where Proxmox itself goes.
- Filesystem —
ext4is the safe, simple default.ZFSis worth considering if you have two or more drives and want built-in redundancy and snapshots at the storage layer, but it’s more RAM-hungry and adds complexity you may not want on your first install. - Network config — set a static IP on your LAN here if you can. It’ll save you from your Proxmox host randomly changing address later and breaking every bookmark and integration pointing at it. Once your smart home runs here, it is also worth separating IoT devices from the rest of your network, which our IoT VLAN guide walks through.
Reboot, remove the USB drive, and you should land on a console showing the web UI address — something like https://192.168.x.x:8006.
Step 3: First login and initial setup
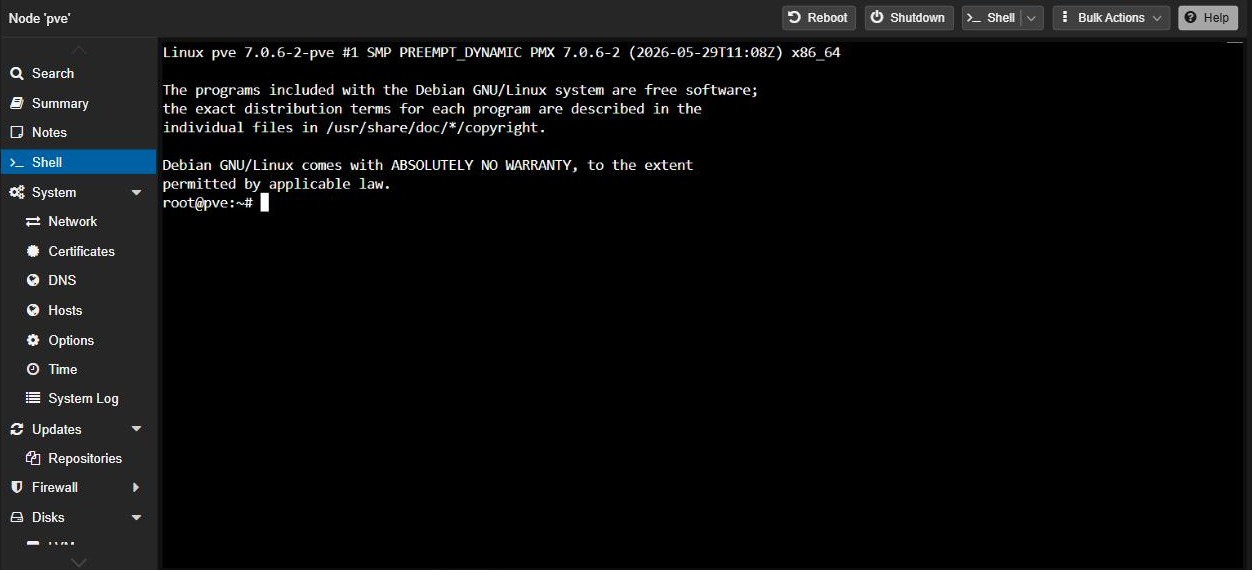
Log in with the root user and the password you set during install. Proxmox will nag you about not having a subscription — that’s normal for a home setup, just dismiss it (or switch the repo to the no-subscription one if the popup bothers you).
A couple of things worth doing immediately:
- Update packages:
apt update && apt full-upgrade -yfrom the shell, or via the UI. - Set up storage: if you added a second drive for VM data, add it as a storage target under Datacenter → Storage so your VMs don’t fill up the boot drive.

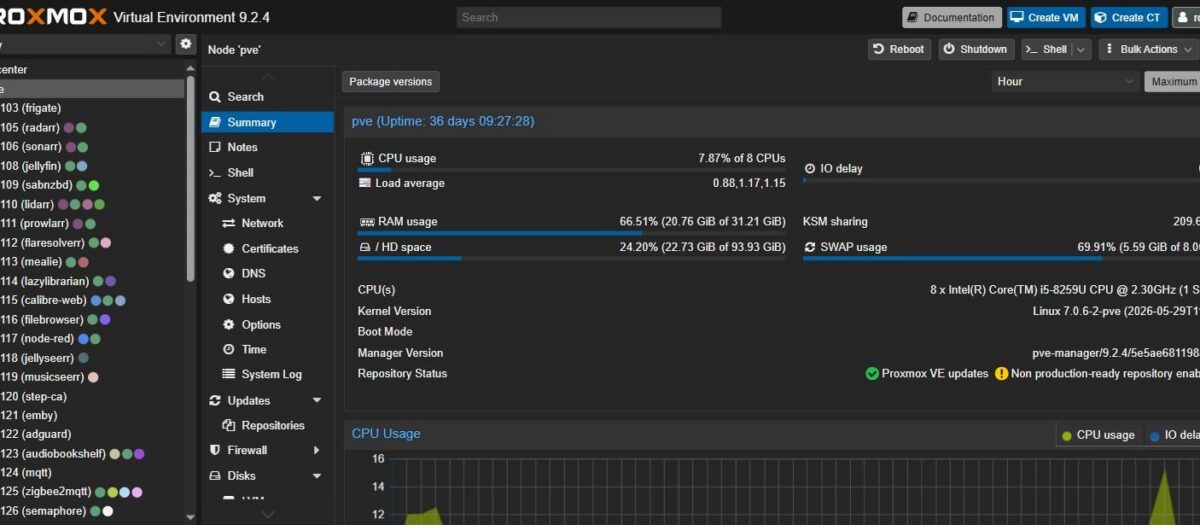
Step 4: Get your bearings in the interface
The Proxmox web UI packs a lot in, and it’s easy to feel lost the first time you look at it. Here’s the short version of where things live.
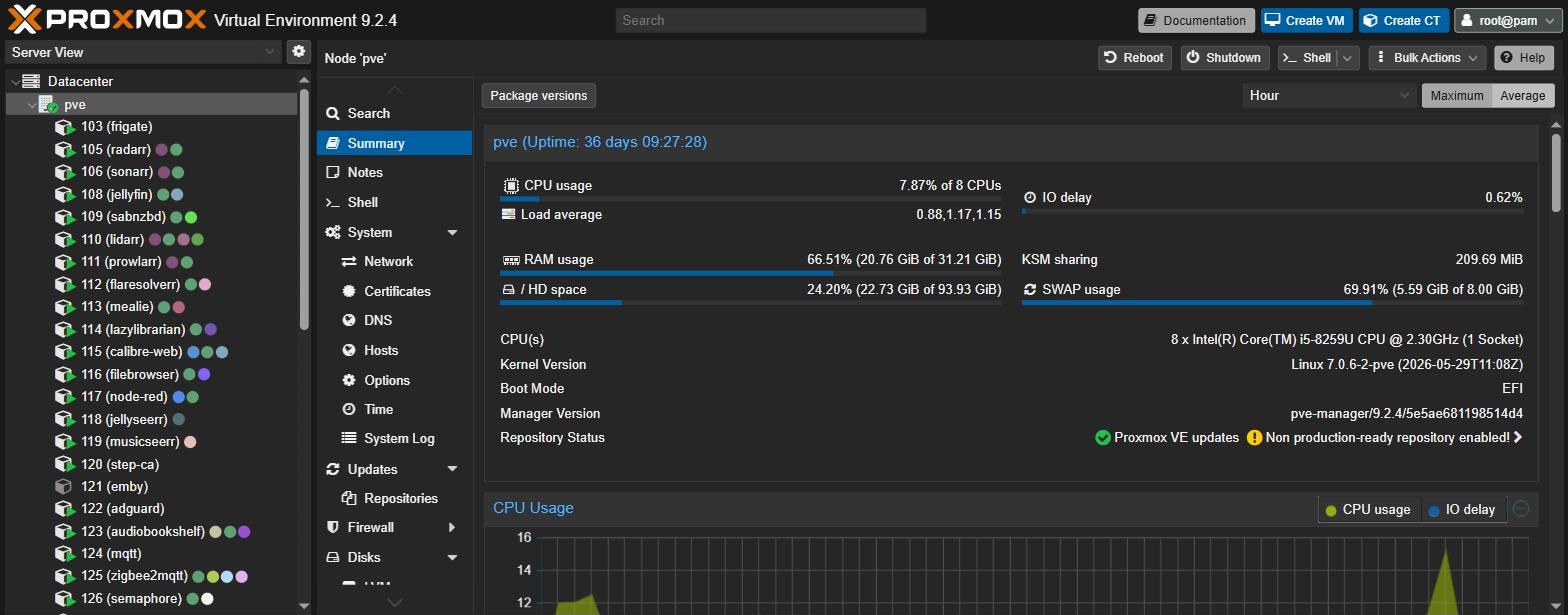
The left-hand tree is everything. It’s a nested list:
- Datacenter sits at the very top. This is the cluster-wide level — even if you only have one machine, everything technically belongs to a “datacenter” of one. Click it for settings that apply across your whole setup: storage definitions, backup schedules, user permissions, notifications.
- Below that is your node — your physical machine, listed by whatever hostname you gave it during install (often something like
pve). Click the node itself and you get a Summary tab showing live CPU, RAM, and disk graphs for the whole box, plus a Shell button if you ever need direct command-line access to the host. - Below the node, your VMs and containers appear as you create them, each with its own little icon and ID number (Proxmox auto-assigns these starting at 100).
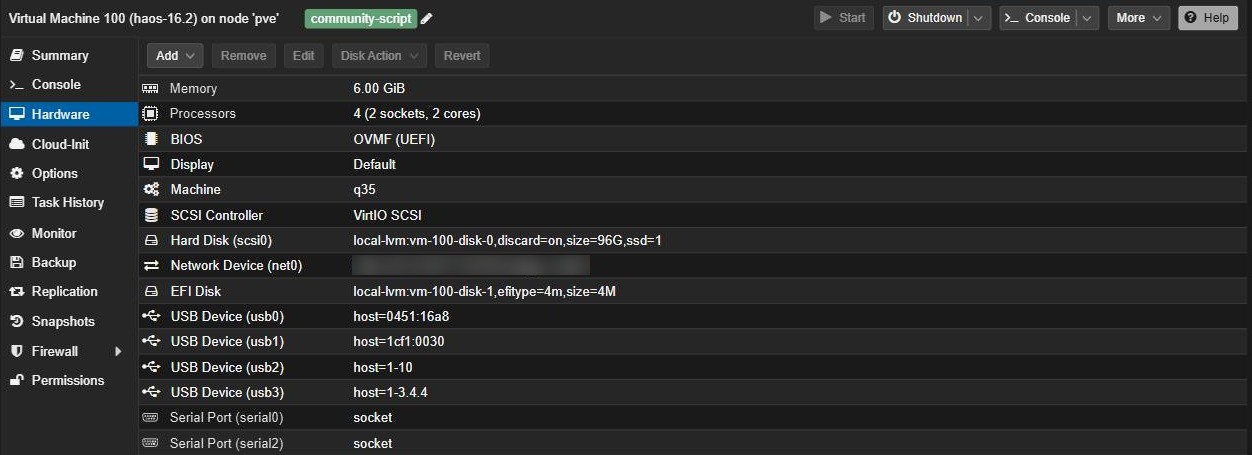
Click into any VM or container and you get a second set of tabs down the left of the main panel — this is where almost everything day-to-day happens:
- Summary — status, resource usage graphs for that specific VM/LXC.
- Console — a screen into the VM itself, like plugging in a monitor. Useful for the initial setup of something before you can SSH into it.
- Hardware — add or resize disks, bump RAM, change CPU cores.
- Options — boot order, whether it starts automatically when the host reboots (worth turning on for anything important).
- Backup and Snapshots — exactly what they sound like, and where you’ll go to roll back a change that broke something.
Two buttons you’ll use constantly, top-right of the screen: Create VM and Create CT (CT = container). This is how you spin up anything new.
One habit worth building early: right-click almost anything in the left-hand tree — a VM, a container, even the node itself — and you’ll get a context menu with the common actions (Start, Shutdown, Migrate, Clone, Remove) instead of hunting for buttons in the tabs above.
It looks like a lot at first, but the pattern repeats everywhere: pick something in the left tree, its details and controls open in tabs on the right. Once that clicks, the rest of the UI stops feeling like a maze.
Ready to create your first VM or LXC container? We’ve got a dedicated walk-through of the Create VM/CT wizard, screen by screen, with the reasoning behind each choice: Creating Your First VM and LXC Container in Proxmox
Step 5: Move your first Pi workload over
Rather than trying to migrate everything at once, pick one service — Home Assistant is the natural first candidate if that’s what your Pi was doing. Our step-by-step guide to installing Home Assistant in a Proxmox VM walks through exactly that.
- Home Assistant has an official Proxmox VE install script that spins up a proper Home Assistant OS VM, which gets you the Supervisor and add-on store — something you don’t get running Home Assistant Core directly on the Pi.
- Pi-hole is a great first LXC container — lightweight, doesn’t need a full VM, and Proxmox’s built-in LXC templates make spinning one up a five-minute job.
Get one service stable on Proxmox, confirm it’s doing everything your Pi version did, and only then repoint your DNS/DHCP/automations at the new instance and retire that piece of the Pi.
Step 6: Snapshot before you touch anything
This is the habit that makes Proxmox worth the move on its own. Before any update, config change, or new add-on install:
- Select the VM or container.
- Open the Snapshots tab and click Take Snapshot.
- Make your change.
- If it breaks, roll back in under a minute.

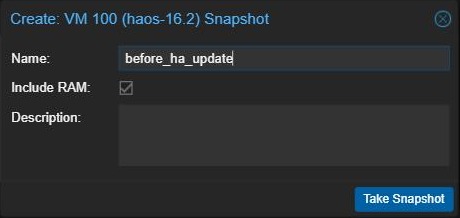
No more re-flashing an SD card because an update went sideways.
Where this leaves your Pi
You don’t need to retire it. A lot of people keep the Pi around as a secondary Pi-hole (DNS redundancy is genuinely useful), a dedicated Zigbee/Z-Wave USB coordinator host, or just a spare. The point of moving to Proxmox isn’t that the Pi was bad — it’s that you’ve outgrown running everything on one small, single-purpose board.
Next up: check out our full mini PC comparison for Proxmox homelabs — five machines across budget, mid-range, and premium, with the specs and trade-offs that actually matter for a hypervisor host.
One comment on "Setting Up Proxmox: The Next Step After a Raspberry Pi"
Pingback: Creating Your First VM and LXC Container in Proxmox – The Homelab Bench